Matcha Mint Bites (vegan, raw, paleo, keto)

Matcha Mint Bites

I love a good power bite, especially these energizing green balls of wonder. The fresh mint makes them especially refreshing, especially with these hot days. Pop them in a iced cooler for an outdoor day and you won't be sorry!
Prep Time30 minutes
Cook Time1 hour
Total Time1 hour 30 minutes
Servings: 24

Equipment

  • Food Processor

Ingredients

  • 1 cup raw, organic tahini
  • 1 cup coconut manna
  • 1 cup organic plant-based protein
  • 1 cup collagen
  • 2 cups + 1 cup shredded coconut
  • ¼ cup + ¼ cup monk-fruit confectioners sugar
  • 10-15 fresh organic mint leaves
  • 3-10 drops organic peppermint essential oil start tasting after adding 3 drops and adjust to preference
  • 2 tbsp matcha powder
  • 1 tbsp maca powder optional
  • 1 chocolate Lily’s chocolate bar or 1 cup Lily’s chocolate chips can use any chocolate of choice, optional
  • 1 tbsp MCT oil or melted coconut oil

Instructions

  • Melt the chocolate on the stove at low heat. Stir frequently until completely melted. Set aside.
  • Place 1 cup of the shredded coconut in a bowl and set aside.
  • Mix ingredients (except for monk fruit confectioners, and 1 tbsp MCT oil) in a food processor. Stop to scrape down the sides if needed. Add more protein powder if it’s not solid enough to roll into balls (they’ll be slightly squishy but you don’t want them to melt in your hand or flatten when set down.
  • Roll dough into 1 inch balls and then coat in the 1 cup shredded coconut. Place on cookie sheet. Will make 18-24 bites.
  • Stir ¼ cup confectioners and 1 tbsp MCT oil into the melted chocolate until well combined.
  • Drizzle or coat the bites with chocolate.
  • Place in the freezer for 10 minutes (until hard) and then transfer to the container.
  • Store in fridge for a week and in the freezer for 6 months.

Notes

notes: I always double or triple the batch and freeze them to have on hand for a quick boost. You can even eat them straight from the freezer.
Other flavor options:
Pure Matcha
Omit mint and/or chocolate
Lavender Matcha
Replace fresh mint with dried lavender flowers and mint essential oil with lavender oil
Lemon lavender
Replace fresh mint with dried lavender flowers and mint essential oil with lavender oil.
Add 1 tbsp fresh lemon zest, 5-10 drops lemon essential oil or 1 tbsp lemon juice and omit matcha.
Make it your own
Add any of your favorite superfoods, dried fruit, seeds, nuts, or flavor additions that you enjoy – the combinations are endless!

Chocolate Cookies n’ Cups Ice Cream (vegan, paleo)

Chocolate Cookies n’ Cups Ice Cream

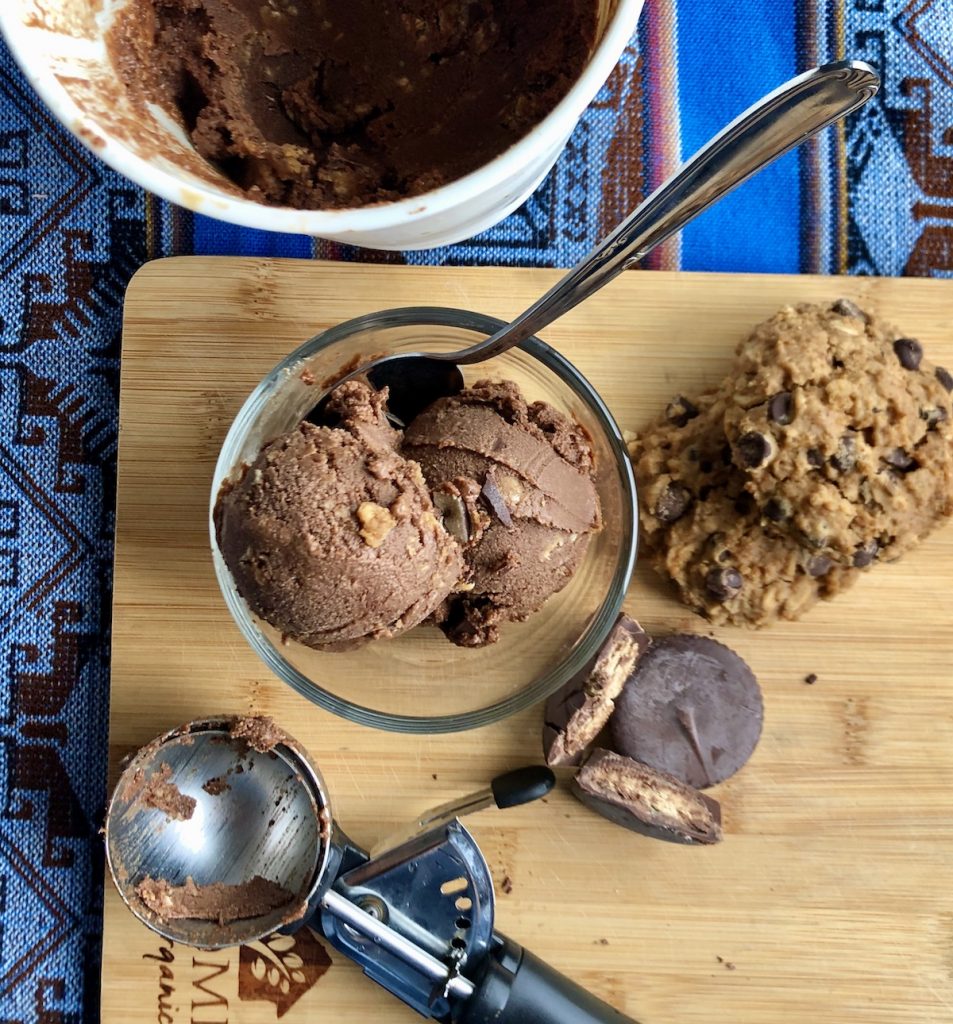
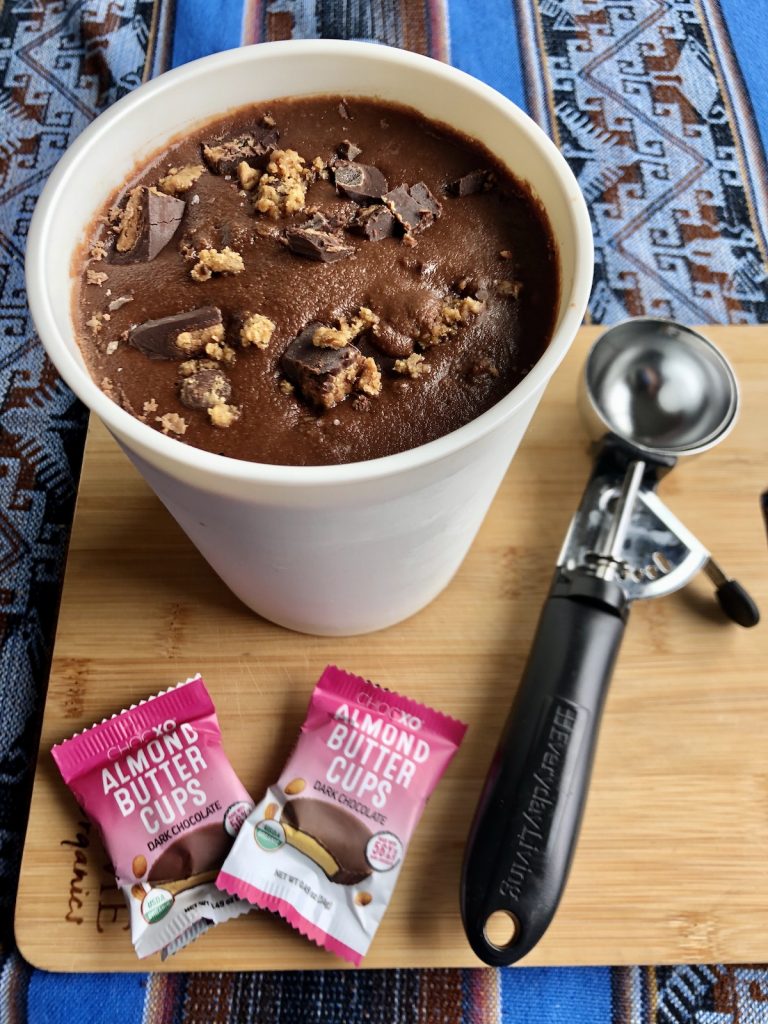
I'm just getting on the homemade ice cream wagon and I don't think I'll be getting off anytime soon! I love how easy this is to make, and how I don't miss dairy AT ALL when I eat it. Cashews are magical.
Prep Time30 minutes
Cook Time7 hours
Course: Dessert
Keyword: ice cream
Servings: 6

Equipment

  • immersion blender
  • ice cream container or loaf pan

Ingredients

  • 2.5 cups raw cashews
  • 1/2 cup coconut milk
  • 1/3 cup pure maple syrup, Lakanto maple syrup, or raw honey
  • 1.5 tsp collagen / gelatin
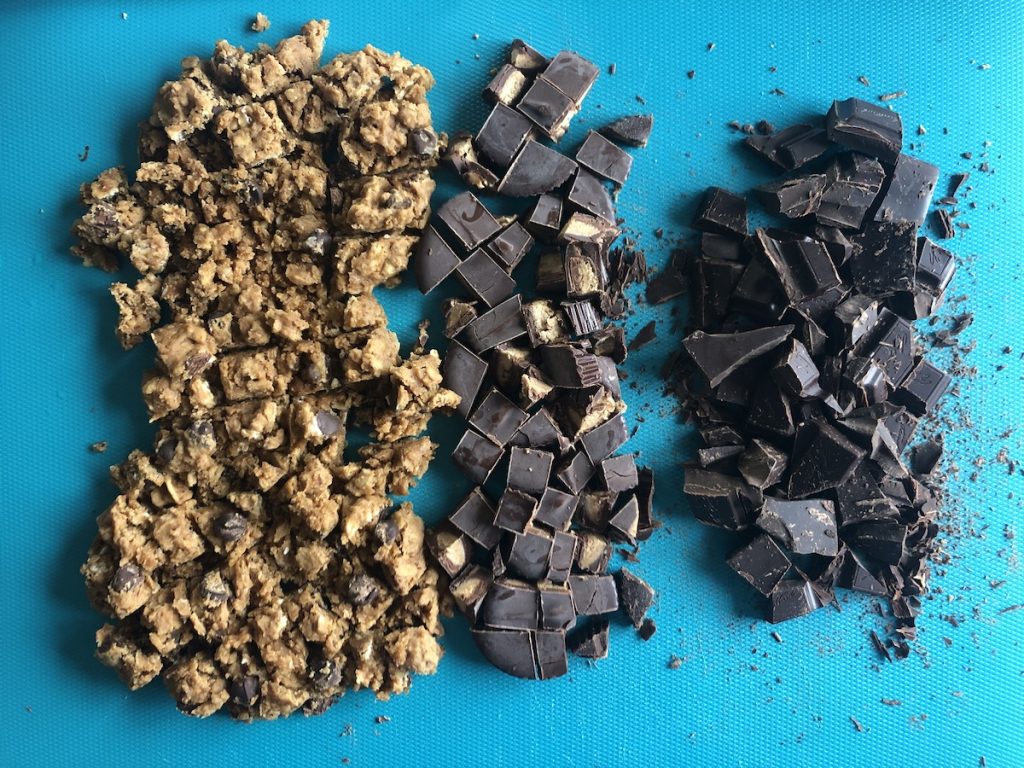
  • 2 oz baking chocolate chopped
  • 1/2 cup cocoa powder
  • 1 tsp vanilla extract
  • 1/4 tsp sea salt
  • 1/2 tsp lemon juice
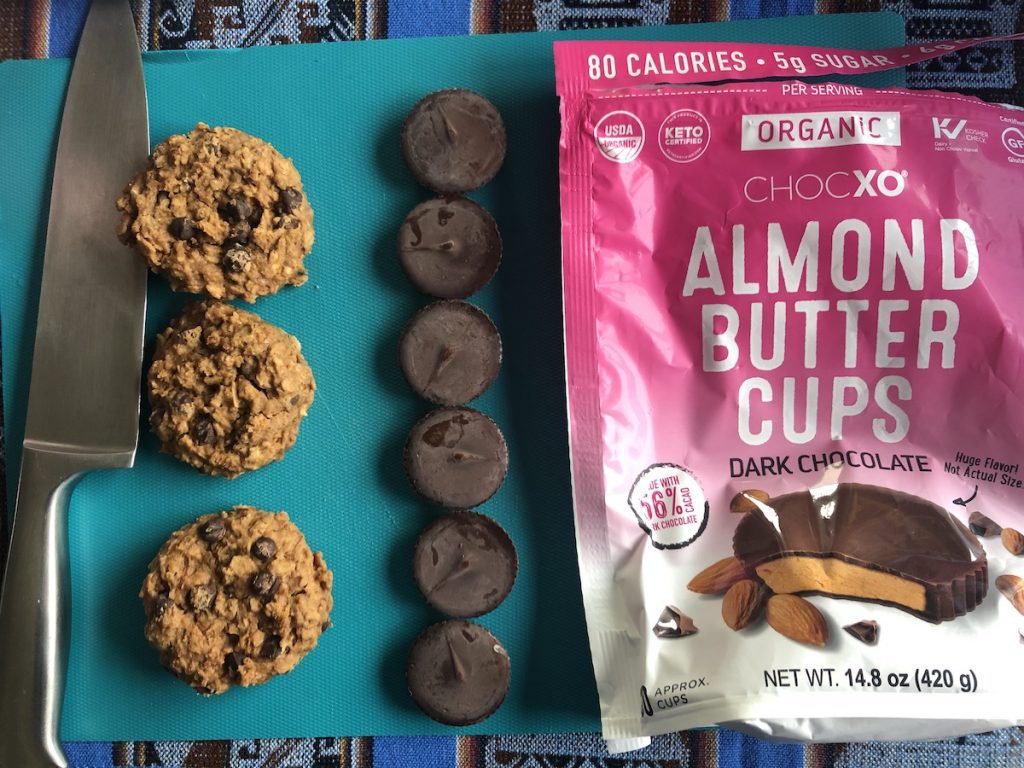
  • 1/2 cup chopped almond butter cups or candy of choice
  • 1/2 cup cookie chunks I used my vegan power cookies

Instructions

  • Place ice cream container or loaf pan in freezer to chill.
  • Place the cashews in a bowl and cover with boiling water for 30 minutes.
  • Sprinkle the gelatin over coconut milk in a saucepan and leave for 15 minutes.
  • Drain and rinse the cashews and transfer to an immersion blender. Add 1 cup water and the maple syrup. Blend until smooth.
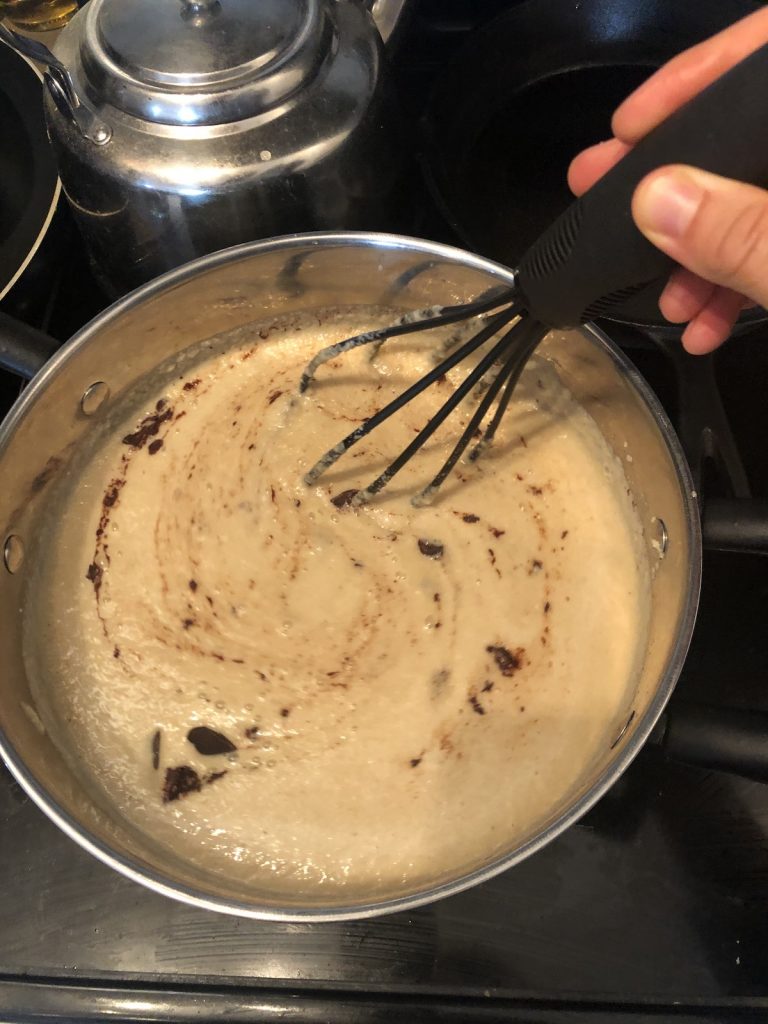
  • Transfer to saucepan and set to medium heat, whisking to dissolve the collagen (which should be slightly foamy on top). Once it’s dissolved, add the chopped baking chocolate and stir until just melted. Be very careful not to overheat.
  • Transfer back to blender and add cocoa, vanilla, sea salt, and lemon juice. Blend until smooth.
  • Pour into chilled containers and chill in freezer for 6 hours.
  • Let sit out on counter for 10-15 minutes before eating.

Notes

Notes: will keep well for 3 weeks, covered

Cookie Dough Power Bites (vegan, paleo, gluten-free)

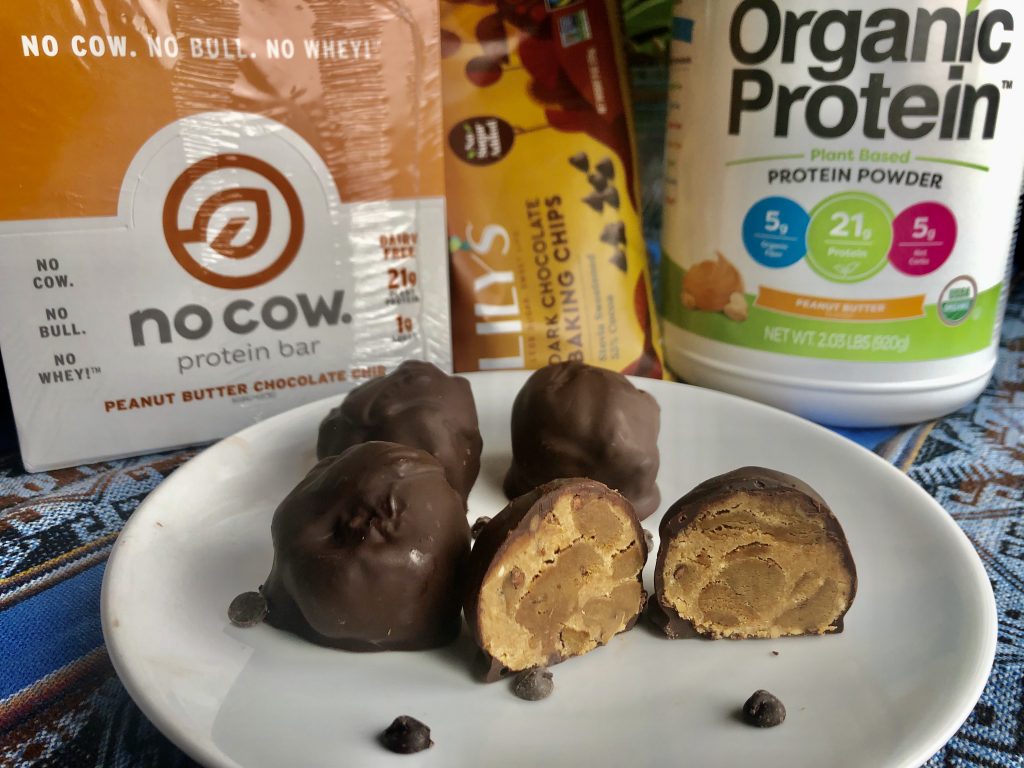
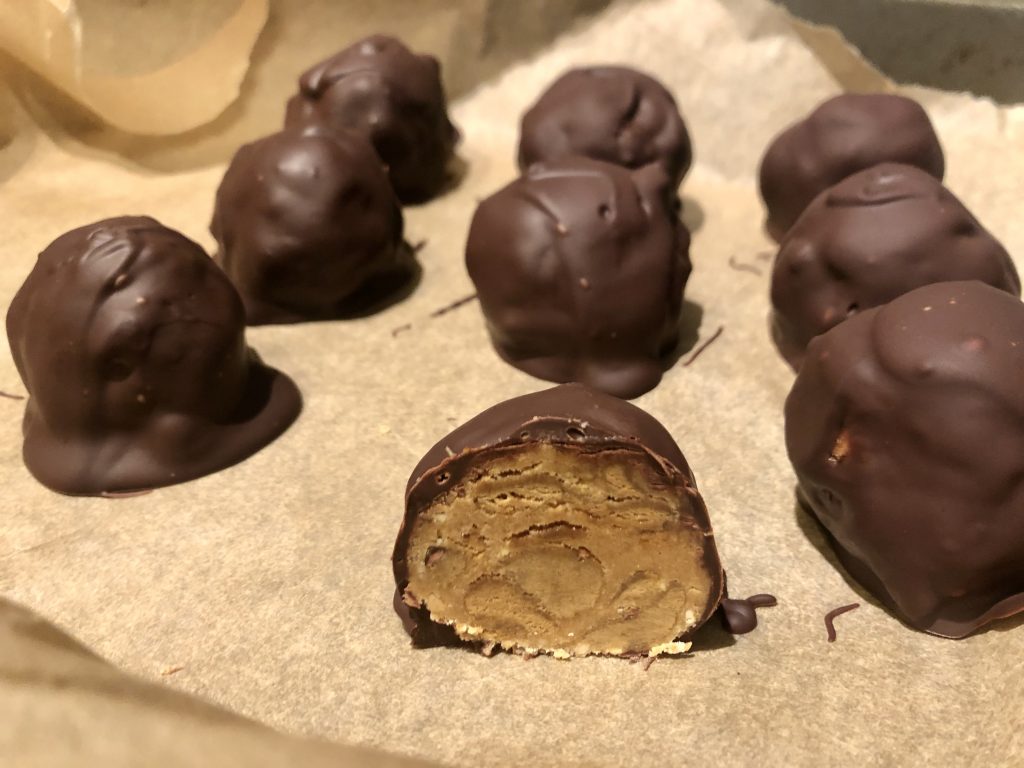
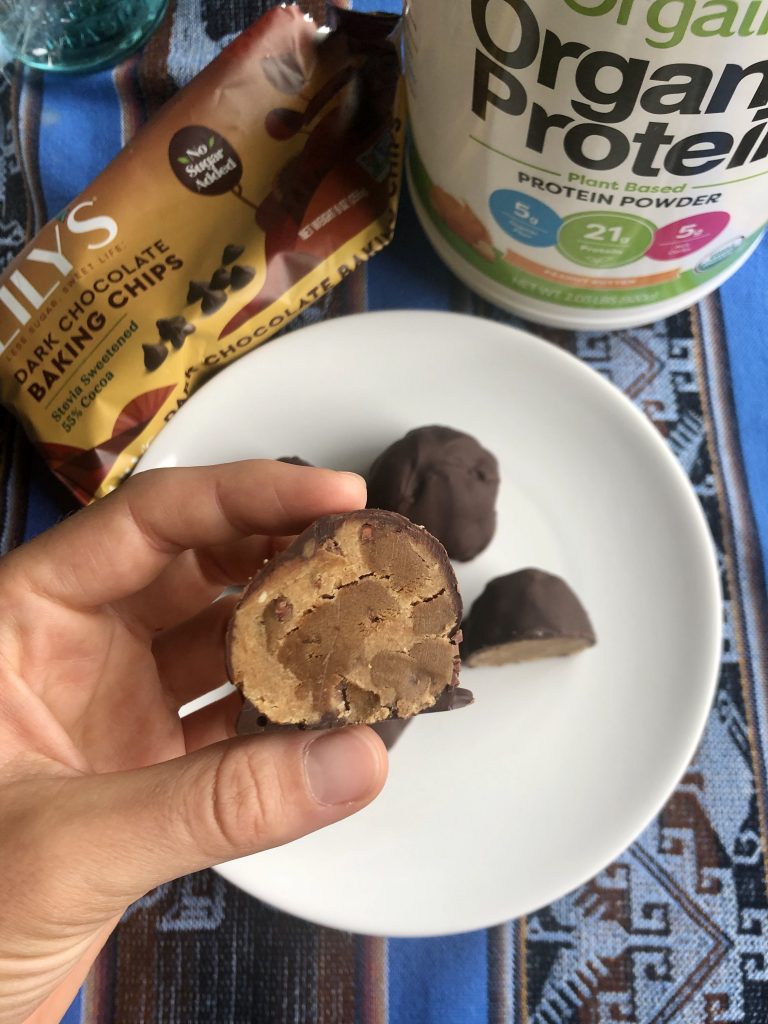
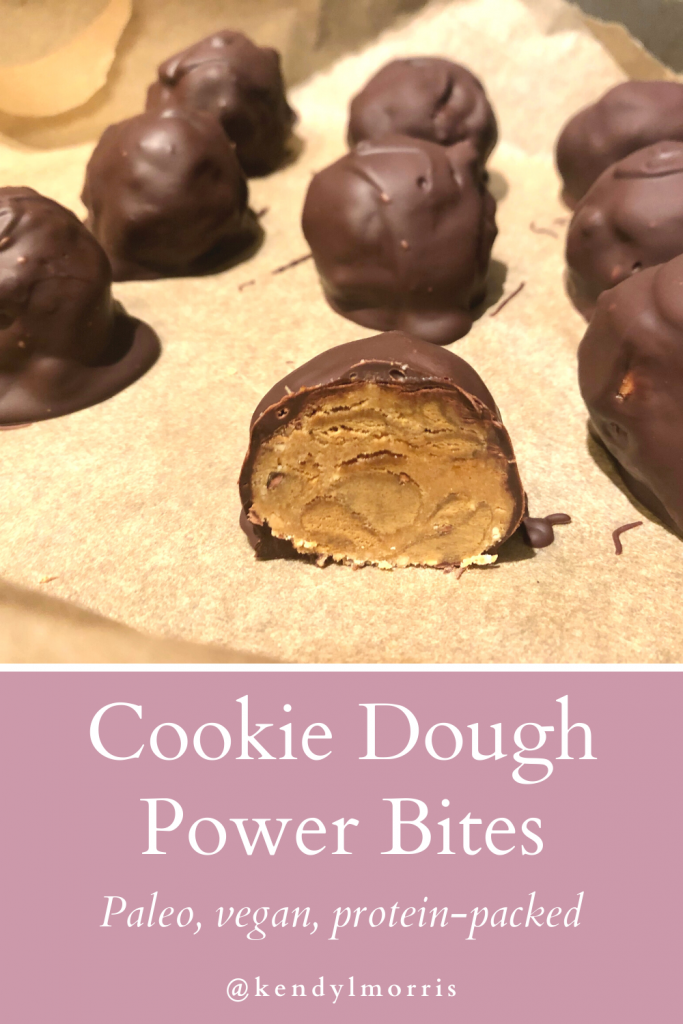
These no-bake power bites are a delightful, energizing treat that are great for satiating a candy craving, or for fueling your workout. I created them when I was thinking of what to do with the excess No-Cow bars I have lying around because my boyfriend has a subscription on Amazon. We got sick of them and he forgot to cancel, so now we have them lying around. They have a chewy, cookie-dough like texture, are plant-based, 1g of sugar, and 21g protein. That’s hard to find in a protein bar, y’all. But, like I said, we overdid it so now we have too many.

I’m thrilled with how these turned out and will definitely make them again. They’re super easy to modify so make them your own!

Prep time: 15 minutes

Total time: 45 minutes (with 30 minutes of setting)

Yields: 8-12 bites

Ingredients

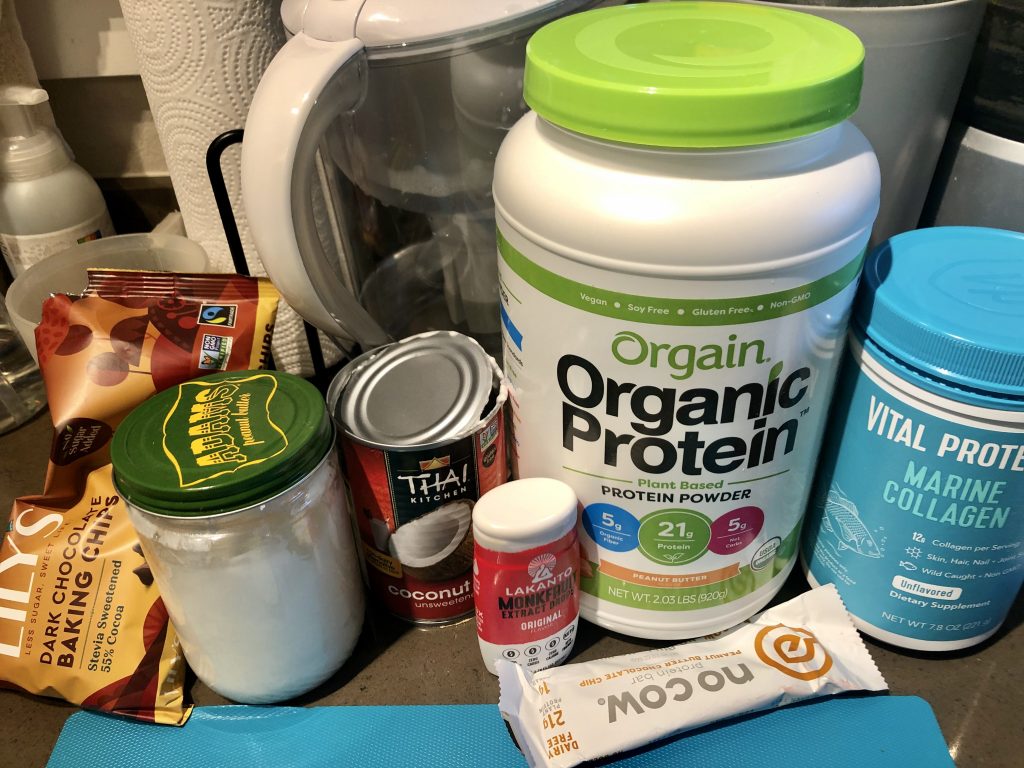
3 No-Cow protein bars (I like peanut butter cacao chip, can also sub any chewy vegan protein bar / cookie)

1/4 cup nut butter (I used peanut)

2 tbsp coconut oil

1 tbsp lakanto mapke syrup, raw honey, or pure maple syrup

6 drops monk fruit or stevia liquid

2 tbsp full fat coconut milk or other non-dairy milk

2 scoops vegan protein powder (I used @orgain peanut butter 😂, see a pattern?)

2 scoops collagen

3 tbsp maca powder

For the chocolate glaze:

1.5 cups Lily’s chocolate chips

1 tbsp coconut oil

Instructions:

  1. Melt the glaze ingredients in a glass bowl over a saucepan on a low simmer (or microwave)
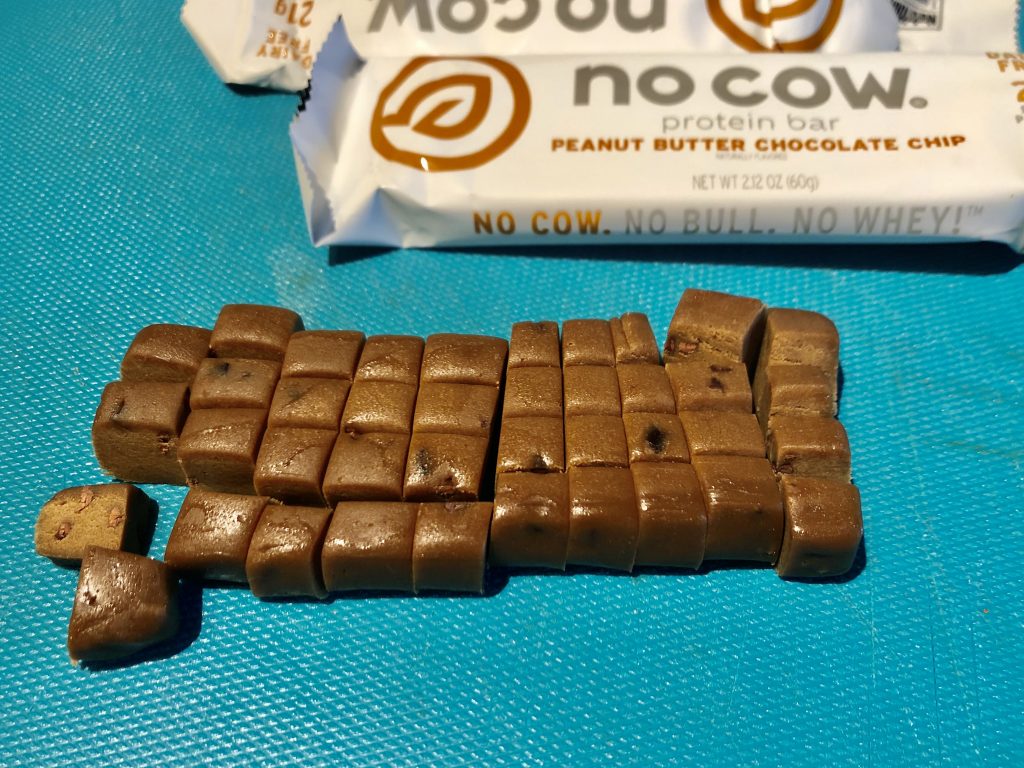
  2. Chop the no cow bars into small pieces.
  3. Warm the peanut butter and coconut oil enough to mix.
  4. Add the remaining ingredients until a thick dough-like texture is formed.
  5. Form 8-12 small balls with the dough and then dip in the melted chocolate. Drop onto a parchment paper lined baking sheet.
  6. Freeze for at least 30 minutes and then store in a container in fridge or freezer.

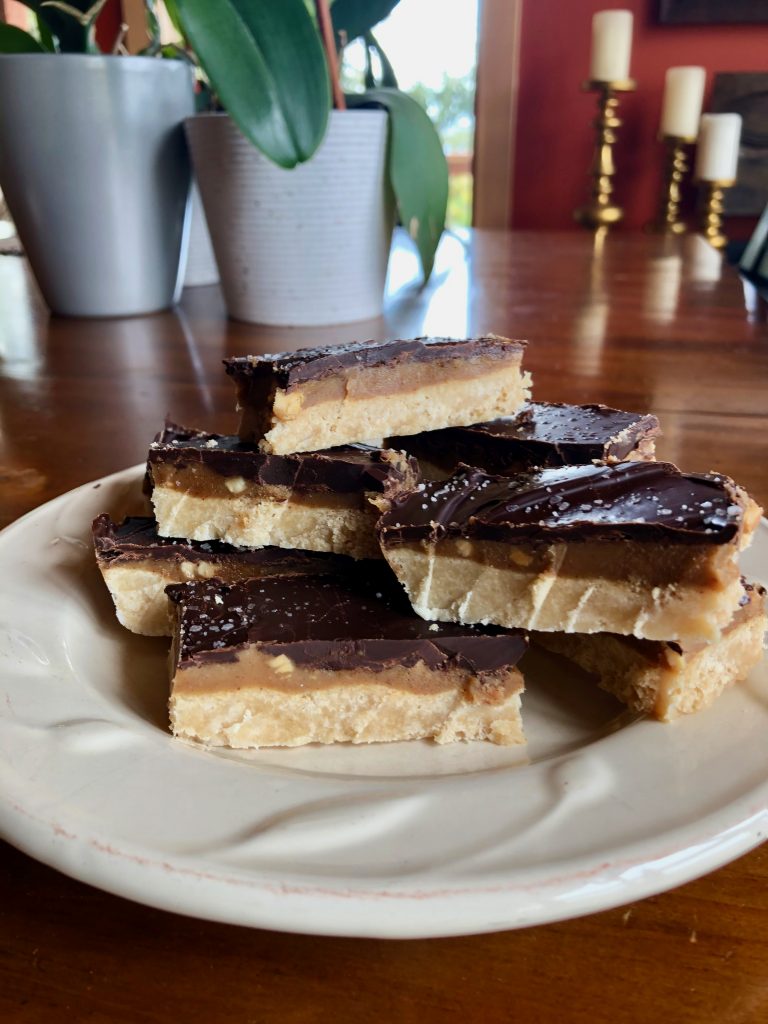
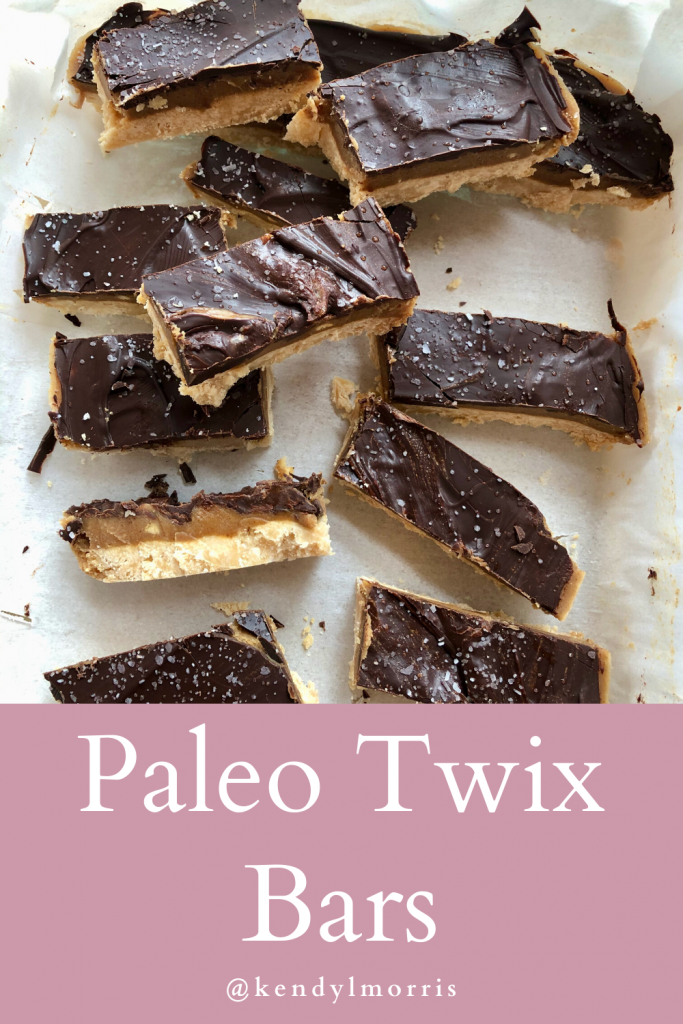
Twix Bars (paleo, df, gf)

One of my favorite things to do is remake my favorite foods/treats into cleaner versions. I went gluten-free and dairy-free at 19 due to chronic health issues I was having that couldn’t be helped through conventional medicine. My IBS, anxiety, depression, and acne that had developed in my early teens only got worse in college, and the only solution ever offered was medication. I knew I was out of balance on multiple levels, but it wasn’t until my misery : motivation ratio got so high that I was finally willing to stop eating the standard American diet. My journey led me to my profession as a certified integrative medicine health coach and clinical hypnotherapist, and after 7 years cooking of cooking this way, quite a few recipes!

Healthy doesn’t have to be a hassle, and it certainly can taste as good, if not better, than the “real” thing. Side note: Isn’t it interesting that we call chemical-filled processed foods the “real” thing when this recipe is full of actual REAL ingredients? Might be time to rethink that.

This is a new favorite recipe that I hope you enjoy!

Ingredients

Shortbread layer:

  • 1 cup almond flour
  • 3/4 cup arrowroot flour
  • 1/2 cup coconut flour
  • 1/2 cup melted coconut oil
  • 1/3 cup maple syrup, honey, or monk fruit maple syrup
  • Pinch of sea salt

Caramel layer:

  • 3/4 cup almond butter, or other nut butter of choice
  • 1/2 cup full-fat coconut milk
  • 1/3 cup coconut oil
  • 2 tsp vanilla extract
  • 1/2 cup maple syrup, honey, or monk fruit maple syrup
  • Pinch of sea salt 

Chocolate layer:

  • 1 cup chocolate chips or chocolate bar
  • 1 tbsp coconut oil
  • 1/2 tsp flakey sea salt 

Instructions

  1. Preheat oven to 350 degrees F. Line a 8×13 pan with parchment paper so that it extends over the edges. 
  2. Make the shortbread: mix all ingredients until no clumps remain. Press/spread the batter evenly into the prepared pan and bake for 12-14 minutes, or until golden brown. 
  3. In a saucepan over medium heat, combine the caramel ingredients until completely melted. Cool completely on counter. 
  4. Melt the chocolate and coconut oil over low heat on stove until fully melted. Cool. 
  5. Once the shortbread and caramel layer are completely cool, pour caramel over shortbread and place in freezer for 1 hour, or until completely hardened.
  6. Pour melted chocolate over the top, sprinkle with flakey salt, and place in fridge for 10-15 minutes until hardened. 
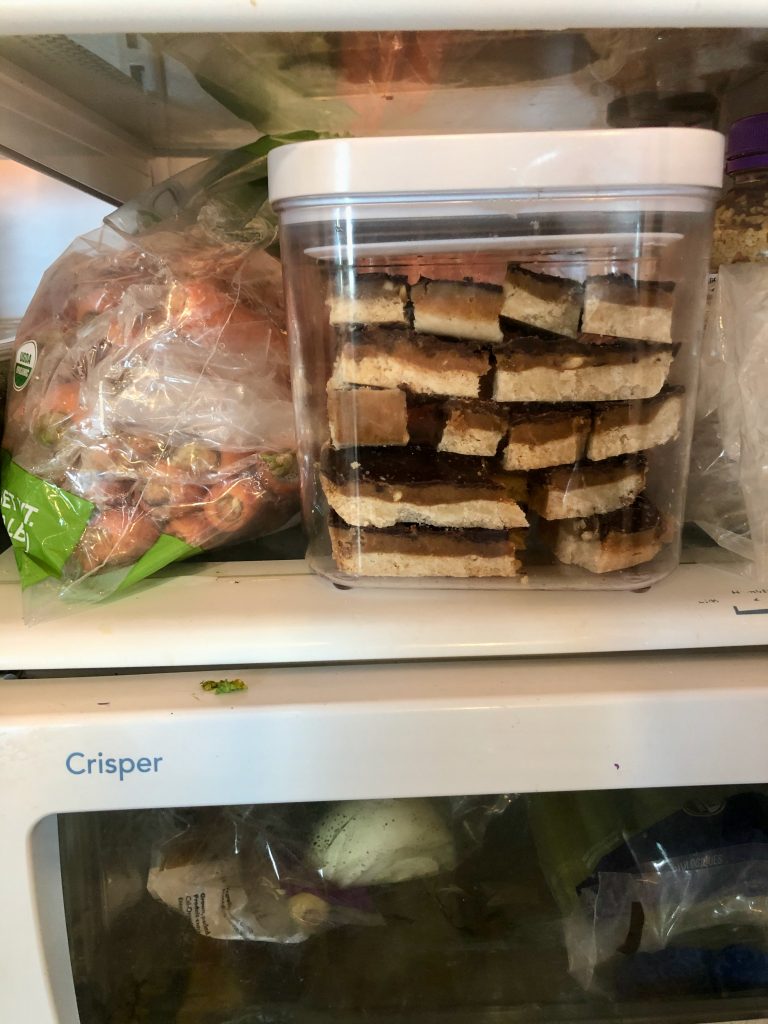
  7. Slice into long pieces and enjoy! Can be be stored in air-tight container in fridge for a week, or the freezer for 2 months.

Notes: can make a half-batch by halving the ingredients, or double by doubling. 

Vegan Panang Curry Bowl

Prep time: 15 minutes Cook time: 20 minutes Serves: 6

I’m a sucker for Thai food but one of the first indicators that I had IBS came in the form of cramps after eating out (which was almost always Thai). Eventually I discovered SIBO and gluten-intolerance to be at the root of my IBS symptoms (and have now since eliminated them through Functional Medicine), which means I rarely eat out. It’s taken a long time to perfect my curry recipe because the restaurant-made curries are often loaded with sugar, but now that I’ve found a curry paste I love and a method that works, this has become a weekly menu item at home.

I always double this recipe because the leftovers keep really well and always go quickly! You can sub any veg you’d like but try to cook the harder veg first like in this recipe so that it’s all cooked evenly at the end. You can also use any curry paste you like, but I HIGHLY recommend the linked brand. The curry paste you use makes ALL the difference in the flavor. You could also sub chicken or shrimp if you prefer that to garbanzos – I’m not vegan but I do try to eat at least 70% plant-based (which means a couple of vegan dinners every week).

If doing low carb, use meat instead of garbanzo and serve over greens instead of rice.

Ingredients

  • 1/4 cup coconut oil, avocado oil, or olive oil
  • 1 cup chopped carrots
  • 1/2 cup diced onion
  • 2 cup broccoli chopped (stems and florets divided)
  • 2 tbsp minced ginger, plus 1 tbsp for garbanzo beans
  • 2 tbsp minced garlic, plus 1 tbsp for garbanzo beans
  • 1 chopped bell pepper
  • 1 cup chopped red cabbage
  • 3 tbsp panang curry paste
  • 1 can organic full-fat coconut milk
  • 1 cup frozen or fresh peas
  • 1 can organic garbanzo beans, drained and rinsed.
  • 1/2 cup minced cilantro
  • 1 tbsp coconut aminos, more to taste
  • 1 tbsp lime juice, more to taste
  • 1-2 tsp coconut sugar, based on taste preference
  • Wild rice, quinoa, or greens to serve over (enough for 4-6 servings)

Instructions

  1. Cook wild rice or quinoa according to package.
  2. Add 3 tbsp of the coconut oil (reserving 1 tbsp for garbanzo beans) to large skillet or wok and set to medium heat.
  3. Add carrots and sauté for 3-5 minutes.
  4. Stir in onions, broccoli stems, garlic, and ginger, sprinkle with salt, and sauté for another 3 minutes.
  5. Add the broccoli florets, bell pepper, and red cabbage.
  6. Stir in the curry paste and sauté for 2 minutes.
  7. Add coconut milk and bring to a boil. Reduce to a simmer and cook for 7-10 minutes, or until veggies are cooked to your liking. I prefer them more al dente and usually simmer for about 8 minutes. Stir in half the cilantro (1/4 cup) and peas midway through.
  8. While the curry is simmering, heat the remaining 1 tbsp coconut oil in a medium skillet at medium high heat. Add the garbanzo beans, and the remaining 1/4 cup cilantro, 1 tbsp ginger and 1 tbsp garlic. Sprinkle with salt and fresh pepper.
  9. Cook the garbanzos until golden brown, stirring often. It should only take about 5-8 minutes and be ready at the same time as the curry.
  10. Once the curry is almost done, stir in the coconut aminos, lime juice, and coconut sugar. Taste and add more of any of these if needed.
  11. Serve curry over wild rice, quinoa or greens and top with garbanzos. Garnish with cilantro and serve hot. Enjoy! Leftovers keep well for 4 days.